

Table of Contents
Nothing is durable in our life. Sometimes, even the most stable things can fail. In the case of bathroom exhaust fans, it is not the only problem why you will need to replace them. There is a widespread problem when the fan is incorrectly installed into attics. This can cause moisture and mold. Instead of fighting, the fan will only enlarge them.
In this article, we will explain how to replace a bathroom exhaust fan without attic access. If you haven’t still chosen a new fan to replace the old one, you can find the best-suited option in our list of bathroom exhaust fans.
What to pay attention to before replacing a bathroom exhaust fan?
It is important to check the sizes of the previous fan before buying a new one. First of all, you should remove the fan cover by pulling on it at a slight angle. Now measure the exhaust fan housing. Also, measure the fan duct size. Usually, they are 3 or 4 inches. That means that if the size of a new and previous fan is different, you will need to buy a duct adapter. But because of it, the fan can work louder and less effectively.
Also, you will need to consider whether you want to change wall switches. New bathroom exhaust fans have a light, heater, or humidity sensors. If you want to control them by yourself, it is important to buy a new switch that will meet the requirements.
One more fact to pay attention to is actually the new exhaust fan. You should consider Cubic Feet Per Minute (CFM). It should be at least equal to the listed square footage in the bathroom. The next factor is noise level. The fan should be quiet and should not annoy you. It is better to look for energy-efficient fans. They reduce your energy bills by saving energy. You can find a list of exhaust fans and read how to choose them in our previous article. Now you are ready to replace an old fan.
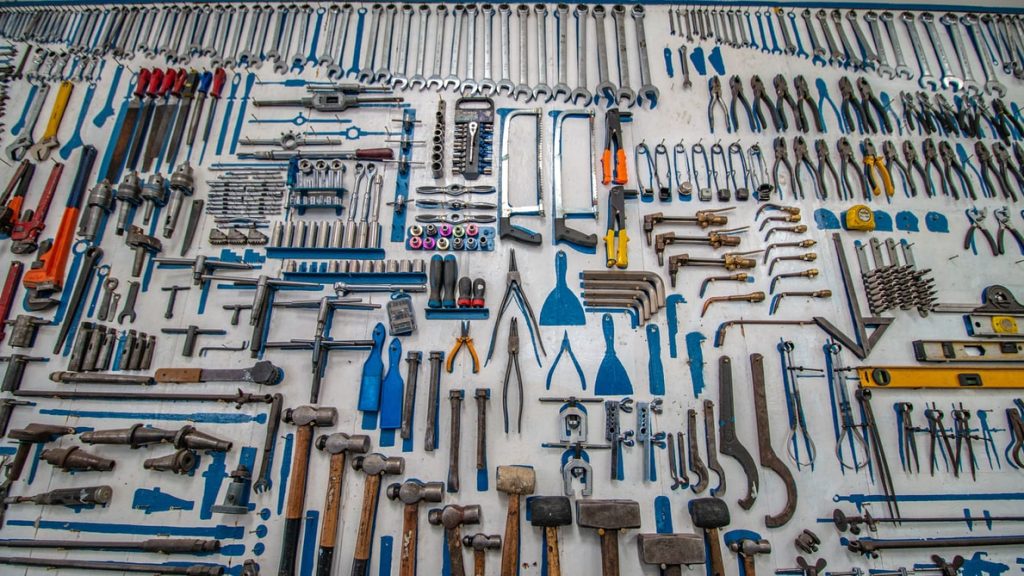
Necessary tools
For a bathroom exhaust fan replacement you will need:
Optional tools
There are tools that you may need in some cases but not necessary.
Replacement of a bathroom exhaust fan without attic access: a step-by-step guide
Step 1: Removing the old fan
- First of all, de-energize the circuit that powers the bathroom fan. Check it with a voltmeter or a circuit tester.
- Now you can remove the old fan. As a fan cover is usually removed to check the sizes of the old fan, the next thing to remove is the motor. Usually, it is held by 2 or 3 screws. Now move to the main housing. All you need to leave is the wiring and ductwork.
Step 2: Cleaning
Clean up the area of the exhaust fan. Check the measurements again and compare them with the new fan.
Step 3: Adjust the size (optional)
If your new bathroom exhaust fan is larger than the previous one, you need to increase the size of the ceiling cutout. Hold the new fan housing over the existing cutout and mark the new opening with a pencil.
Step 4: Installing the new fan
- If your new fan has the junction box cover, remove it and feed the wiring through the housing assembly. But do not connect anything.
- Connect the duct connector to the housing assembly. The flaps should be pointed down. Secure the duct connector by using a zip tie or foil tape.
- Secure the housing to the ceiling joist.
- Connect the wires. Some manufacturers include fast connectors for the fan wires.
- Seal up the gaps. You can make it with caulk or metal foil by applying a layer around the edges.
- Install fan cover or grill.
- Turn on the power and test the exhaust fan. Well done!
Summary
Replacement of the bathroom exhaust fan without attic access can be not so fast as with attic access but still is easy to do. You can hire a professional (it will cost $380 on average) or you can spend around 2 hours to replace it by yourself. Just 4 steps and the work will be done.
However, there are also factors that you should pay attention to even before buying a new fan. You need to check the sizes of the previous fan, consider whether you want to change wall switches, and pay attention to the new fan’s technical characteristics. In more detail, we describe it and give our recommendations in the previous article.
FAQs
👍 Can you replace a bathroom fan without attic access?
Yes, you can. With the help of a hammer, tape measure, screwdriver, safety glasses, drywall saw, and circuit tester or voltmeter you can do it in just 2 hours. The full guide you can find in our article.
⚙️ How hard is it to replace a bathroom exhaust fan?
It is easy to replace a bathroom exhaust fan because you do not need to change the switch, wires, and ductwork. There is a step-by-step guide on how to replace a bathroom exhaust fan without attic access in our article.
🧽 When should I replace my bathroom fan?
Even with proper cleaning, the bathroom exhaust fan needs to be replaced. Usually, it is once in 10 years or less. In our article, we write the whole replacement process.
🤔 How to remove old bathroom fan housing?
The fan housing is usually connected to the ceiling joists with a few screws. So, to remove it, you will need to remove screws using a screwdriver.